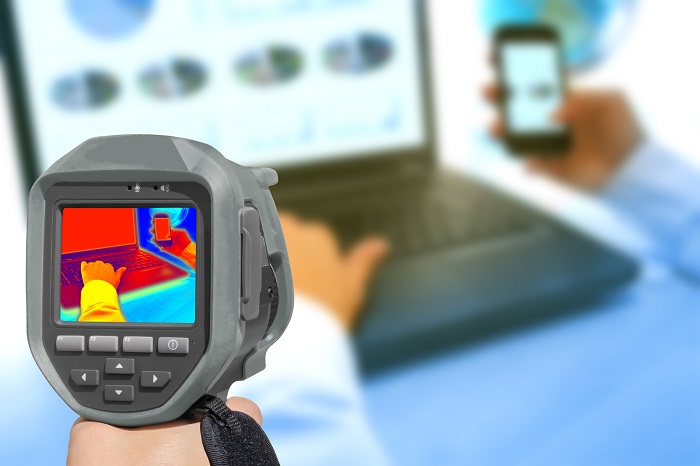
An infrared digital thermometer is a test and measurement device that is used for measuring temperature from distance. This type of device is used in a wide variety of applications, mainly for commercial use in industries such as the electrical, manufacturing and food industry. Moreover, the infrared thermometer is used for tracking the temperature while monitoring electrical circuits, pipes and radiant heating for the purpose of determining potential leaks and infiltration.
No matter in what industry you work, you can’t go wrong by buying an infrared digital thermometer, because it is a type of instrument that will help you increase the efficiency and safety of your applications. What sets the infrared digital thermometers apart from other instruments used for measuring temperature are the following advantages:
- Advanced temperature measuring capabilities and high accuracy;
- Ability to measure temperature of moving objects;
- No-contact food temperature measuring while eliminating the risk of contamination;
- Quick and efficient diagnosing of various industrial systems and equipment;
- An option for recording and saving the received results for further analysis and processing.
Now that you’ve understood the most important features and advantages of these unique devices, the next step is to understand how to use such an instrument. Although it has some pretty advanced features, using an infrared digital thermometer is very easy. Here are the basic steps that you need to follow in order to get accurate temperature measurements with this device.
Step One: Powering Up
It should go without saying that you need to install the proper batteries on the thermometer before using it. This type of thermometer can operate on several types of batteries: rechargeable lithium batteries, 9-volt alkaline batteries and AAA, AA batteries. Most models of infrared thermometers have an easy to open battery compartment where the batteries are stored.
Step Two: Turning the Thermometer On and Off
The next step after you make sure that the batteries are properly installed is to turn the digital thermometer on and start the operation. In most of the models this can be done with the use of a simple trigger mechanism. Moreover, all models of infrared thermometers come with an option for automatic shutting after a certain period of time. In most models you can set the thermometer to shut off after 7 to 15 seconds.
Step Three: Setting the Measurement Unit
Generally speaking, infrared thermometers come with options for measuring temperature in Celsius and Fahrenheit degrees. You can set your preferred measurement unit by choosing between the two symbols (°C or °F) representing each unit, which are usually displayed on the LCD screen. Adjusting these settings is done by simply pressing a button or a switch (depending on the model).
Step Four: Laser Pointing
A single or double laser point is one of the most recognizable features of these thermometers. The purpose of the laser pointer is to enable the visibility of the LCD display in low-light or completely dark areas. This is done by assisting with aiming the digital pyrometer and the back light. In some of the models there is a button underneath the LCD display with which this feature can be set, while there are also models in which this feature is turned on and off automatically without an option for manual setting.
Step Five: Measuring the Temperature
Finally, all you need to do to measure the temperature of a certain object is to point the thermometer at the object and pull the trigger. You will receive the result on the LCD screen in a second. After getting the result of the measurement, the result will stay on the LCD screen until you make a new measurement, or until the thermometer shuts off automatically after the pre-set time runs out.


