
Before we start talking about the necessary steps to take to weld metals, let’s define the TIG welding process and talk about its history. TIG stands for Tungsten Inert Gas and is technically called Gas Tungsten Arc Welding or GTAW. This process involves the usage of a non-consumable tungsten electrode which delivers the current to the welding arc. The weld puddle and the tungsten are protected and cooled with an inert gas, usually argon.
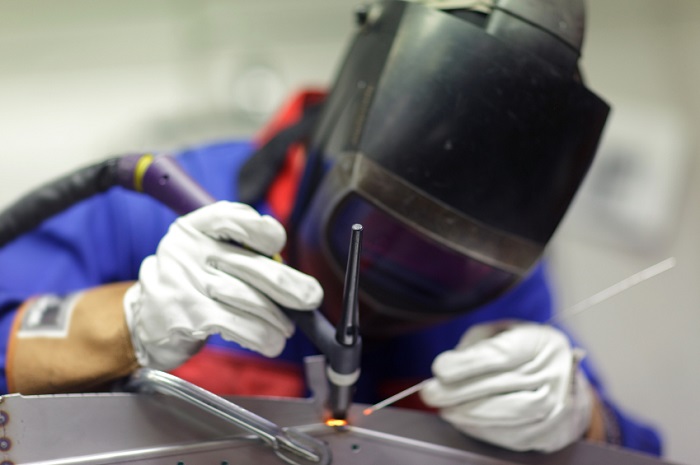
TIG Welding is commonly used for welding copper, aluminum, titanium etc., or even two metals that are not similar. This process is usually used for handling tricky welds such as curves, S-Shapes, corners or where the weld is likely to be very visible and where finish and accuracy are of the utmost importance. Out of all other forms of welding, TIG enables a greater variety of metals to be welded. Follow the steps that I have provided for you below to get your welder TIG up and running and start creating your masterpieces as soon as possible.
Safety first
Before operating with any kind of a welding machine, make sure to put on your thick, fire-resistant clothing, eyewear and a welding helmet.
Connect the TIG torch
TIG torches have a ceramic nozzle which is used for directing argon, a copper sleeve for holding an electrode, and it is some way of cooling themselves. Take the adapter from your accessory package and plug the torch into the front of the machine.
Choose the polarity
Based on the type of metal that you are welding, there are different settings to pick from. For instance, if you use steel or other metals, you should place the welder TIG on the DC Electrode Negative (DCEN) setting. On the other hand, if you are using aluminum, the welder should be placed on the alternating current (AC) setting. Also, if your welder has a high frequency setting, you will also need to adjust it
Grind the tungsten
The thickness of the metal that needs to be welded and the welding current that is used are what the size of the tungsten rod depends on. Use the face of a fine stone to grind the tungsten electrode. Grind so that the electrode is pointing in the same direction as the rotation of the stone as a safety precaution. Grind the tungsten to a balled tip for AC welding and a pointed tip for DC welding.
To make a butt weld or open corner weld, ground the tungsten to a five to six millimeter stick.
Set up the gas flow
Quickly open and close the valve to clean any debris there might be accumulated in the threaded valve body. Screw back the regulator and then screw the nut tight while at the same time you’re twisting the regulator until it is seated in the valve. With the help of a spanner, tighten the regulator and make sure that the pressure knob is backed off counter-clockwise. Put on the gas hose and flowmeter and gently and in small increments turn on the cylinder valve. Check if there are any leaks by using an aerosol leak detector spray. Finally, set the gas flow rate by adjusting the cylinder regulator.
Set the amperage
The amperage is what enables you to regulate the level of control that you have over the welding process. Bear in mind that the thicker the metal is, the higher the amperage you will need.


