Kitchen Appliances

Home Uncategorized Kitchen Appliances

A modern and functional kitchen is the one that gives you the opportunity to master your culinary skills, while offering unique feelings of fun and pleasure at the same time. To have the kitchen of your dreams, you need to make sure you dispose with the right cooking equipment and appliances. Apparently, one of such ‘tools’ is the gas cooktop.

Gas cooktops are energy-efficient and cost-effective – the two prevalent features that usually determine the buying decision of the interested shopper. Cooking with a gas cooktop ensures a great cooking experience with an excellent control over the cooking temperatures, which is surely a big “YES” for novices in cooking. If you are a potential buyer, take a look at the following steps on how to install your brand new gas cooktop properly, quickly and without effort.
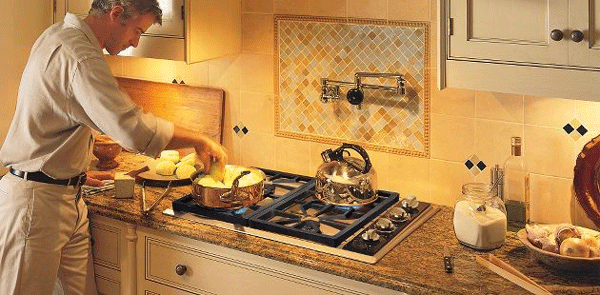
gas_cooktop

Step 1: Turn off the gas

Before you even buy a gas cooktop, you need to confirm that you have the right power source. Obviously, it needs to be gas. Make sure the gas supply is turned off. To do it so, you need to find the valve of the gas-supply pipe that is usually coming out of the wall, then turn the valve in the direction for ceasing the gas supply (closed position).

Step 2: Let the ‘hidden’ gas out

Although you have shut off the gas supply, know there is still a small amount of gas trapped in the pipe that connects the valve to the gas cooktop. Do not neglect this information, because even the smallest amounts of gas can cause an explosion or fire that may lead to property damage, personal injury and even death. Therefore, to safely get rid of the ‘hidden’ gas, you need to unplug the power cord, then turn-on the burners for a few seconds. This is how you will release the so-called ‘trapped gas’ and avoid a disaster.

Step 3: Remove all the obstructions from the countertop

The cooktop needs to fit properly into the countertop, so your next task is to adjust or remove everything that may be a possible obstacle for proper gas-cooktop installation. In most cases, there is an ‘intruding’ or ‘extra’ material that needs to be cut off so that the cooktop can nicely fit into the kitchen countertop.

Step 4: Reconnect the gas supply to the cooktop

Connect the gas-supply pipe to the cooktop, then check for gas leaks at both cooktop and piping. Make a professional ‘gas-leak check’ by using a special device, called combustible gas analyzer. This will ensure that you have perfectly done the job and you are ready to start using your new gas cooktop.
What’s the worse thing about cleaning kitchen? If your answer is the clutter under your kitchen sink cabinet, we hear you. That area often resembles a fraternity house after a party rather than a storage place.

When it comes to organizing the cabinet under your kitchen sink, one of the biggest problems is having too much stuff in a small space; a place where things are just getting jammed inside and you can’t find what you need, when you need it.

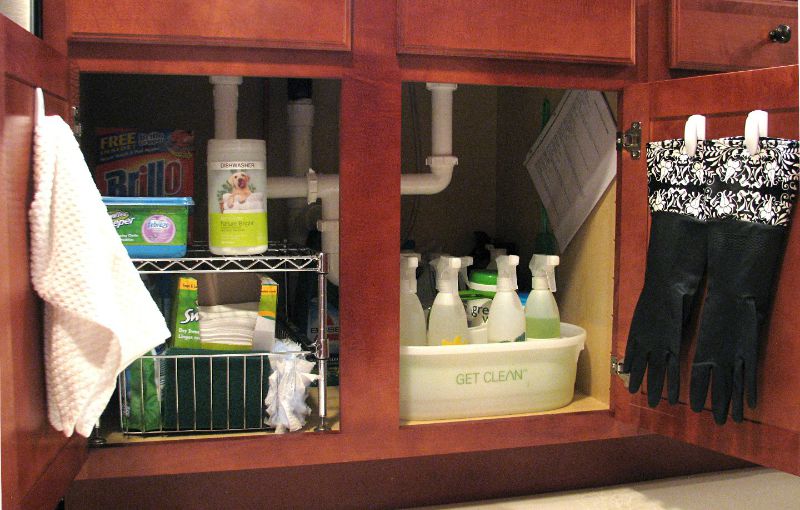
Under-Your-Kitchen

Following are few easy steps that will help you organize under your kitchen sink and keep only the things you really need to clean the kitchen and few other things.

  • Install a slide-out drawer – Available in various types and models, try to choose a gliding drawer with a water resistant finish, so it can stand up to any moisture that may occur under your kitchen sink. When measuring, do not forget to leave clearance for the pipes and hoses from the sink. Easy to install, gliders will allow you to pull supplies out, and reach them easily.
  • Use cabinet inserts to double your storage – A small, elevated shelf is a great thing that you can use to maximize the vertical space of your under kitchen sink cabinet. Choose one tall enough to place bottles underneath or boxes or anything that can be ruined if leak occurs.
  • Install a small curtain rod under your sink – For an instant organization, install a small curtain rod under your sink and use it to suspend all your spray bottles. If you don’t have too many bottles, a heavy-duty tension rod should be sufficient. For heavier loads, opt for a screw-mounted model. You can add labels to the back of each bottle to make easier to see what’s what.
  • Use coffee cans or plastic storage box to stop rolls of trash bags from unraveling under your kitchen sink – Cut a hole in the top of the plastic box and pull the bags through one at a time. If you tend to buy coffee by the can, simply cut a slit in the top of the can lid and pull the bags through.
  • Consider a rotating solution – Place a rotating solution in your under-sink cabinet and organize you bottles and cans on it. Next all you will need is to spin your supplies around to find what you need.

Try one of these easy steps and really transform your under-sink storage. Which one will work best for your space? Consider the size of your under-sink cabinet and the things that you really need to keep in there. This will help you choose a solution that will suit your needs the most.

Over the years, we have been seeing a lot of improvements in terms of design, performance and special features of commercial kitchen appliances, all thanks to the industry’s fast pace of progress and development.

For example, freezers from previous decades were all about utility, with no thrilling design and open-box interior to make it challenging when it comes to selecting ‘the one’. Today, things have slightly changed. Commercial kitchen appliances of the modern day come in cutting edge models, high-end designs and state-of-the-art features, that make the quest not only challenging, but complex and daunting too. And since the freezer-purchase is indeed a serious and a costly investment, you need to make sure to get the best value for your money.

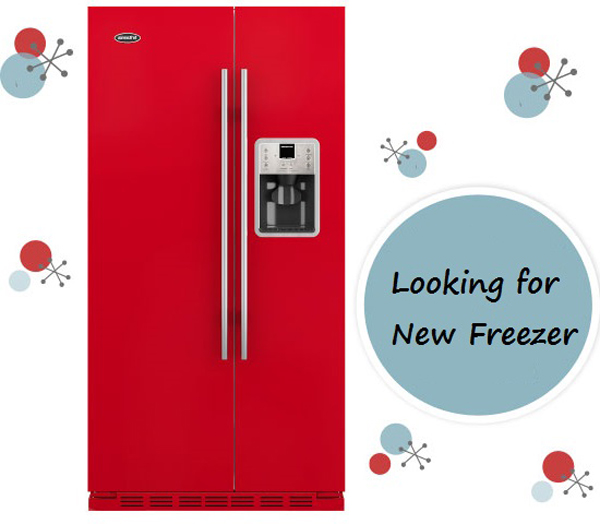
New-Freezer

Your buying decision has to be made based on few highly important features, such as size, storage capacity, storage features and energy efficiency. Here is a quick introduction to the basics of choosing the right freezer that will best suit your business requirements.

  • Size

Ultramodern freezers (chest and upright models) come in three basic sizes:

– compact small (0.16 cubic metres to 0.25 cubic metres)

– medium (0.33 cubic metres to 0.50 cubic metres)

– large (more than 0.50 cubic metres)

Your size-choice depends on the available space your commercial kitchen provides, the requirements f your business and budget, of course.

  • Location

The noise feature plays an important role in determining the location of the freezer.

  • Manual vs. Self-defrosting

Self-defrosting chest and upright freezers provide an outstanding temperature performance, particularly when it comes to temperature consistency. Usually, self-defrosting freezers feature bins and shelves that make it quite easy to organize the food, but they reduce the usable-space capacity.

Manual-defrosting freezers on the other side, are way more quieter than self-defrosting ones, but what counts the most, is the fact that they are more energy efficient. This important characteristic makes manual-defrosting freezers customers’ premium choice, despite the fact that defrosting itself can take hours.

  • Blackout Performance

Latest generations of revolutionary freezers offer the brilliant opportunity to keep the food frozen up to 24 hours in cases of no electricity, such as a blackout, as long as they remain unopened. However, several models of upright freezers have shown inability to keep the food in good condition after 9 hours of being powered off, so keep this information in mind when making your freezer selection.

Deciding to commit to a healthy life is the easiest part. Sticking to it and buying the appropriate tools is what’s difficult. There are so many things that can help you in this journey of yours. A powerful and good juicer is one of them, but the wide selection can make it really difficult to find the right one.

You can start by reading online customer reviews and familiarizing yourself with the advantages and disadvantages of each juicer type. This is the only way to know which type suits your lifestyle better. Once you are done with your research and before you buy juicer online, consider the following.

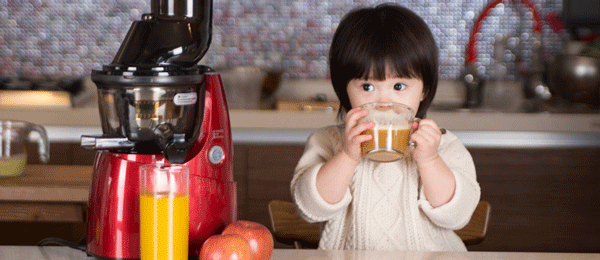
kuvings-juicers

  • Do You Have Enough Time For Juicing Everyday?Most people do not ask this, but it is extremely important, since juicing can be time-consuming. For example, if you have about 15 minutes of free time in the morning to prepare your juice and clean the juicer, manual and centrifugal juicers are two great choices. Another good option is the masticating juicer, a quick and easy-to-clean juicer that yields a healthy juice without the heat.
  • What Will You Be Juicing?Almost any powerful and quality juicer can juice any type of fruit and vegetables. A great example of that is the triturating juicer. This model consists of two powerful gears that can handle any type of fruit and veggies, including guava seeds, pineapple cores and watermelon rinds. So, before you buy juicer online, decide what kind of juice you will be making, since different juicers have different powers and features.
  • How Soon Will You Drink The Juice?This may sound silly, but it is important, because many juicers do not preserve all the nutrients. Usually, centrifugal juicers produce heat and friction when juicing, which can lead to oxidation. If you get this type of juicer, you must drink the juice immediately. Masticating and triturating juicers are “cold press” juicers that do not produce heat, preserving the quality of the juice.
  • How Important Is To Buy a Quality Juicer?It is extremely important, especially if you want to drink quality juice full of vitamins, enzymes and minerals. As we’ve mentioned above, masticating and triturating juicers are your best options, but they come at a higher price. These juicers are known for slow juicing, produce no heat and extract every drop of juice. So, before you buy juicer online, you need to decide what is more important to you, quality or price.