Muddy trails, wet tires and filthy vehicles are what people think of when you mention off-roading, but this activity is much more than that. Contrary to popular belief, the off-roading community is quite a welcoming one and it helps in preserving the environment. Whilst off-roading requires you to get a powerful vehicle that spends more petrol to go off-roading in the outback, it isn’t as detrimental. With carefully selected trails that everyone must follow, the rest of the flora surrounding them remains untouched. Also, if there’s a fire going on out in the wild, who would potentially see it if not off-roaders? Again, it is not the safest way to travel with your Triton but you can make it a lot safer if you decide to go for one simple yet effective accessory – a bullbar.
Benefits of Bullbars
Collisions
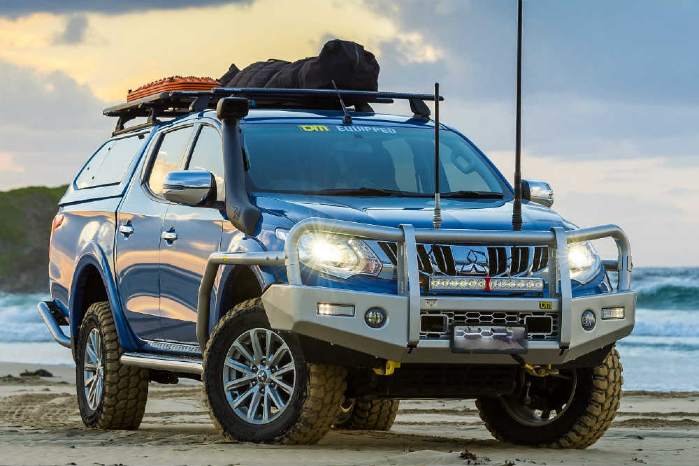
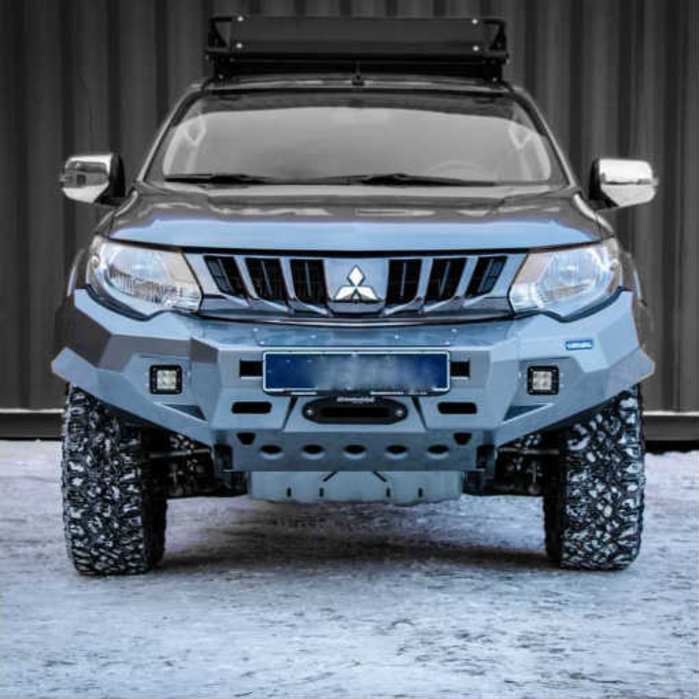
Since you’re out in the wild, anything can get in your way. Having a bullbar installed can help protect you from all sorts of impacts. With a quality bullbar for Triton, you’ll be safe from rocks, bushes, trees and other close-to-the-ground objects from damaging the front of your vehicle. While you won’t always preserve the front body of your Triton, you can lessen the blow and keep repairs at a minimum.
Animal Strikes
Something that happens often and it comes as a big surprise are animal strikes. Although when driving through the wild you expect an animal to appear out of nowhere, it is not that hard to forget about that until it is too late. This is where installing a bullbar for Triton can help. Unfortunately, sometimes you may not be able to save the animal but you will save your vehicle from hefty repairs and even yourself from injuries.
Approach Angle
Improving your approach angle is always a good idea and with a Triton bullbar, you won’t have to worry about touching a rocky terrain. That doesn’t mean you shouldn’t avoid doing so but at least if there is no other solution you can get away with a few scratches or cracks.
Accessories
One addition that bullbars offer and many of us tend to forget is that you can attach various 4×4 accessories onto them. While this isn’t a must when going off-roading, it can be quite handy to add some extra functionality to your Triton such as a winch. With a winch, you can easily get out of a bog – just make sure to install it properly.

How to Fit a Winch to Bullbar?
The most common types of winches nowadays are electric which makes recovery far easier than it used to be. Once you find a winch that’s compatible with your bullbar, it’s time to do some vehicle inspection.
Before you install the winch on your Mitsubishi Triton bullbar you need to locate the mounting cradle on it. This cradle can be horizontal or vertical and if its the latter, you’ll need to rotate the gearbox for 90° so there’s access to the clutch handle.
To mount the winch, all you’ll need to do is slide the square nuts into the cavity next to the drum. Then, put a little bit of double-sided tape or some grease to keep them from falling out and attach the winch into position. Thread the upper bolts through the bullbar and then into the square nuts on the winch.
Next, you need to install the control box. Attach it to the bullbar with pre-drilled holes or a bracket- depending on the winch. Once that’s done, connect the control box to the winch motor. This is a simple process that involves two wires. Each wire is coloured differently which makes this process straightforward. The black cable and the small earth cable need to be attached to the bolts found on the opposite side from the motor.
When you’ve wired the control box to the winch motor, it’s time to test it. To do this, first, connect the winch to the battery and start running the cable between the control box and the handpiece or the receiver of the control box.
How to Fit a Bullbar?
If you haven’t installed your bullbar yet, then once you have it shipped to you, park your Triton on a level surface with the handbrake on.
When you open the packaging you’ll see all the tools and hardware needed to install your new Triton bullbar. Make sure to read the installation instructions and if the steps are not specific, you should continue by crawling underneath the front of your Triton.
Once there, you need to bolt the bullbar brackets into the holes on your Triton specified by your manufacturer. You then need to torque the brackets down and connect the bullbar to them. Make sure the bullbar is even and level as well as the brackets. Lastly, double-check that all the bolts are tight and that there is no wiggle room for the bullbar.


