Whether you want to fill your outdoor space with greenery or start a new fun and creative hobby, gardening is the perfect solution. It is an amazing activity that gives you the opportunity to learn more about different plants and develop a green thumb. Plus, it is the ideal activity to relax and escape at least for a couple of minutes from today’s fast-paced and busy lifestyle.
There is really no better way to contribute to a healthier environment then gardening. Every gardener knows that there is nothing more rewarding than planting different seeds and watching them grow and transform into wonderful plants that reflect the beauty of nature. However, before you can enjoy in the scenic view of your garden, you should first prepare yourself with the right equipment. From picking durable gardening gloves to choosing the perfect soil for your plants, the road to becoming a skilful gardener involves careful planning and proper organization. However, the most important thing is finding the perfect planters and pots where your precious plants can thrive.
Nowadays, there is a vast selection of planters and online and offline shops offer various models that differ in size, design and material. While the design is probably the first thing that comes to mind, quality should not be disregarded. In fact, it must be a priority since it can make or break the whole gardening process. So the main dilemma now is how to find durable and efficient planters and pots that will have a unique design and be efficient at the same time. Well, the self-watering Hdpe planter is the best solution to all of these problems. It has a modern yet sophisticated design, but most importantly it is specifically manufactured to make gardening an easy and enjoyable task.
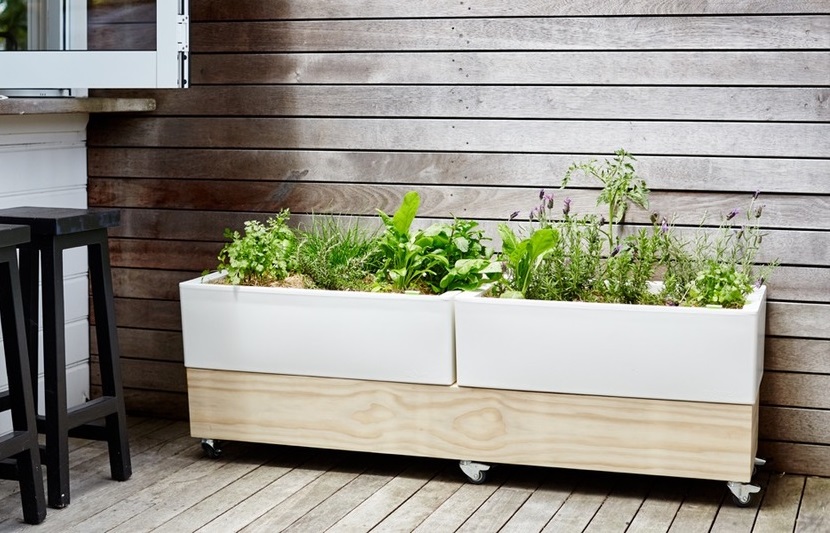
The durable yet simple construction of the Hdpe planter makes it perfect for both indoor and outdoor gardening. Therefore, it is no surprise that it is loved and used by beginners and professional alike. This amazing product comes with an advanced self-watering system which enables you to grow healthy and beautiful plants. Its unique construction allows for constant supply of water to different depths which results in a healthy root development and growth. Besides this, Hdpe planters provide a wide range of decorating options and are the perfect accessory for decorating any urban environment as well. With their modern and practical design you can add a touch of greenery to the balcony, kitchen, living room, deck, patio and even your office.
These advanced planters are made from hard-wearing materials which makes them extremely resistant and definitely a smart investment in the long run. Furthermore, their modular design and innovative features provide many options, making them one of the most popular choice of planters on the market today. Whether you want to grow healthy fruit and vegetables or simply enrich your space with colourful flowers and unique herbs, Hdpe planters are exactly what you need to master the creative art called gardening.