You’ve got yourself a nice brewing kit you’ve been talking about for years and you are ready to stir a concoction that will blow your friends’ minds. Finally, you can create a delicious drink with your personal signature and enjoy all the hard work you put into it. But that hard work can easily go to waste if you fail to properly clean and sanitize your brewing equipment and ruin your beer. That’s a lot of resources, time, and energy that will go down the drain leaving you thirsty and in tears.
Cleanliness is crucial for all food preparations, and brewing is no different. To avoid spoilage, the whole brewing process must be maintained to a high standard through each stage. In order to ferment alcohol you are creating conditions for the yeast to eat the sugary liquid, but this is tempting for a lot of bacteria and wild yeast that may produce undesirable flavours and an unintended sour profile.
Clean and Sanitize – Not the Same Thing

Luckily, there are steps to cleaning and sanitizing your equipment adequately and the first one is understanding the differences between these two processes. You can’t have one without the other.
Step 1 – Cleaning
Cleaning homebrew equipment refers to removing all dirt, stain, or foreign material from the surface. It is usually done with correctly formulated brewing detergent and some elbow grease. Yes, you will have to soak, scrub and rinse thoroughly. It takes just one spot at the bottom that you missed to unleash unwanted microbes. This is an integral part of brewing, so to make your job easier – clean your kit as soon as you have finished using it.
Step 2 – Sanitizing
You can only sanitize clean equipment. It means reducing any potential sources of microbes to irrelevant levels, that is, eliminating everything you can’t see while cleaning. This is best done just before you start brewing and on bottling day. It is recommended to rotate the sanitizer now and then to prevent built-up resistance to any one type.
Safe Cleaning and Sanitizing Agents
Before you embark on this less fun but necessary task, make sure you have the right accessories and agents. You will discover that apart from the simple anti-bacterial detergents, there is a specialised brewers detergent, no-rinse sanitizer, the essential bottle sanitizer, and a few more.
Cleaning Products
When it comes to cleaning agents, avoid products that contain scents and perfumes like dishwashing liquids, which can be absorbed into the brewing equipment and released back into the beer.
Alkaline solutions like Sodium Metasilicate and oxygen-based cleaners are widely available and work for tougher stains. They are effective at removing organic residue and are suitable for stainless steel as well as plastics. A good soak will ease the job, but you will still need a scrubbing sponge or brush to remove any deposits. Bleach can be used for both cleaning and sanitizing. Make sure you use a solution, and be extra careful with stainless steel items as it can cause damage. Rinse thoroughly with hot water.
Sanitizing Products
The next step is to treat all the equipment with a chemical solution that will eliminate virtually all spoilage organisms. You can use percarbonates and hydrogen peroxide which are environmentally friendly and need little or no rinsing. Acid sanitizers are also effective and require no rinse. People also find Iodophor, an iodine-based agent to be good for stainless steel pots and kegs as it works rapidly and is not as corrosive to steel as bleach. Some are no-rinse products, but to be completely sure always follow the instructions on the label. Make sure to buy a good quality bottle sanitizer to keep bacteria at bay.
Clean Every Piece of Equipment
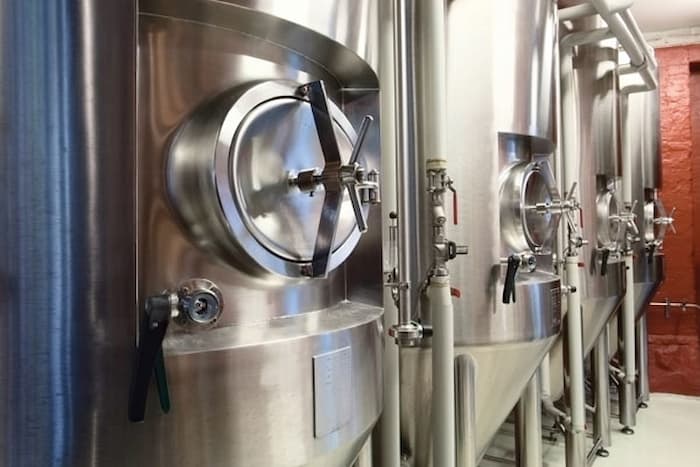
Practically, you need to clean everything that will come into contact with the beer. Before you start the brewing process, make sure the following pieces are spotless:
Fermenter (carboy), funnel, fine mesh, colander, airlock, thermometer, big spoon.Lids, work surfaces, hoses, racking cane, bottling bucket, bottles, bottle caps.
Bottles have proven to be a bit trickier especially if you are dealing with used ones. The best way to clean bottles for homebrew is to rinse the bottles thoroughly, soak them in warm, soapy water, clean the inside with a bottle brush, rinse them, and then sanitize the bottles with a brewer’s no rinse sanitizer. This could be used with both cold and hot water. Special brushes will help you reach the bottom of the bottle and clean it adequately.
An additional step with bottles is sterilizing. The terminology “sterile” is the complete elimination of spoilage organisms, and is not realistic in the home brewing environment. But, you can come close to it if you have a home brew sterilizer or you can put them in a pot and cover them with fresh water. Place the pot on a stovetop and bring the bottle to boil. Let the water boil for about 10 minutes and then leave them to cool. Dry them properly without contaminating them in the process. Drying racks can help expedite the process.
A Final Point
Think about safety at all times. Sanitizers are effectively chemicals rated as hazardous in their concentrated form. There’s a reason why they come with appropriate warning labels. This label is a reassurance that you are using the product correctly and safely when following the recommendations. Once diluted, these solutions are food safe and as long as you stick to the instructions, you should have little to worry about. Make sure you keep any concentrated sanitizer in a safe place. Use common sense and there is no danger. It’s time to start your next batch and enjoy your brew!


